
Model and object photography tips
To present your work in a portfolio or for submission you will need to document the object or model you have made.
Here are some tips that will help you capture high quality images, that you can use if you are working at home or in the studio. These include information on setting up a backdrop, lighting considerations, and composition.
Set Up a Backdrop

The area in your home that has the most natural light is likely to be the best space to document your work.
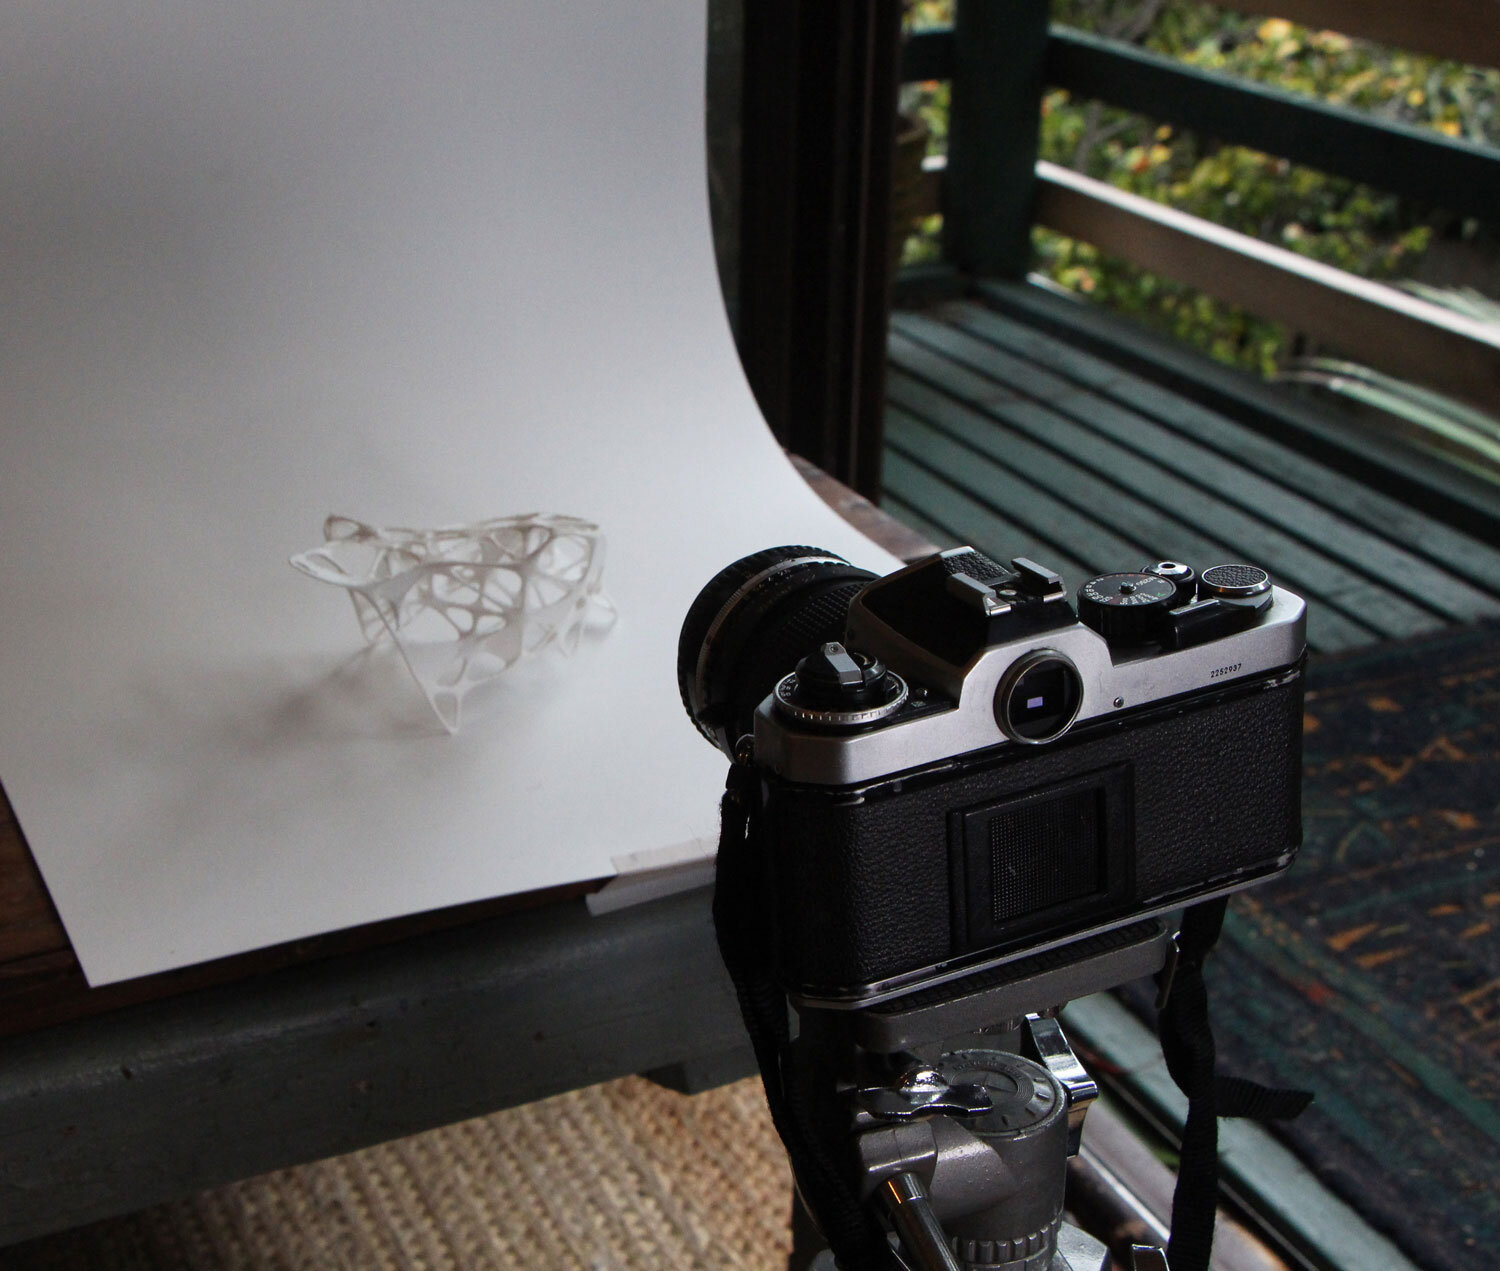
Set up a space near a window or an open door. Outdoors on a cloudy day is also recommended.
Pin, tape or prop a large clean sheet of paper so that it is held in place with a gentle curve. The curve helps to minimise shadows and reduce distracting horizontal and vertical lines from the frame.
Position the object towards the front of the paper so that it doesn’t cast shadows on the backdrop. Don’t position yourself or the camera in between the light and the object as this will also cast shadows.


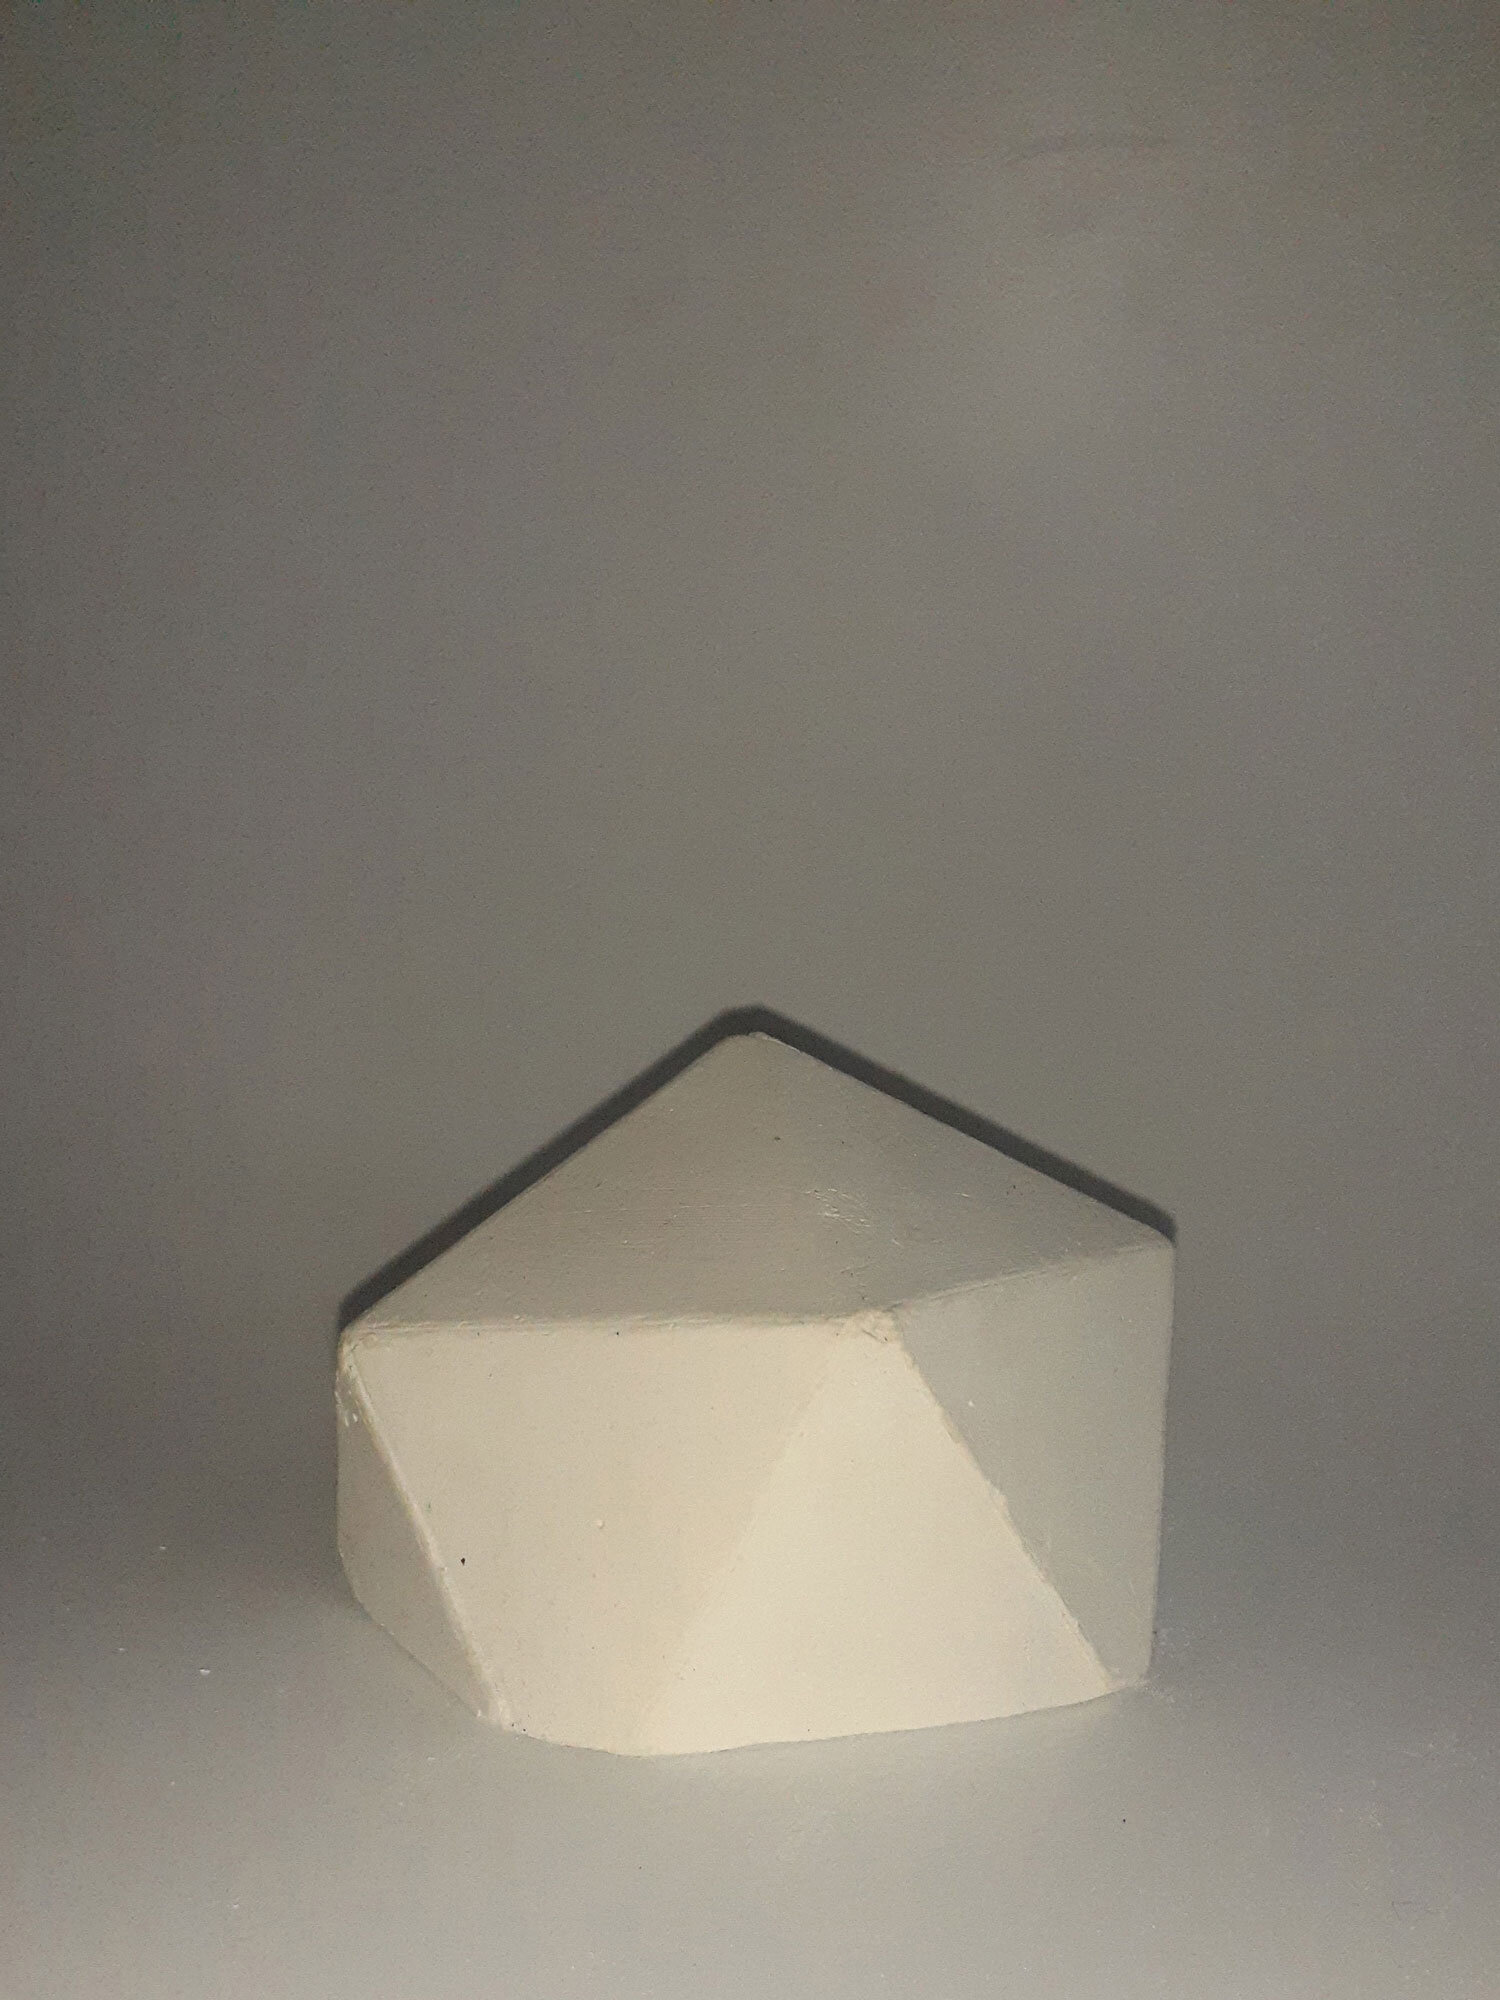
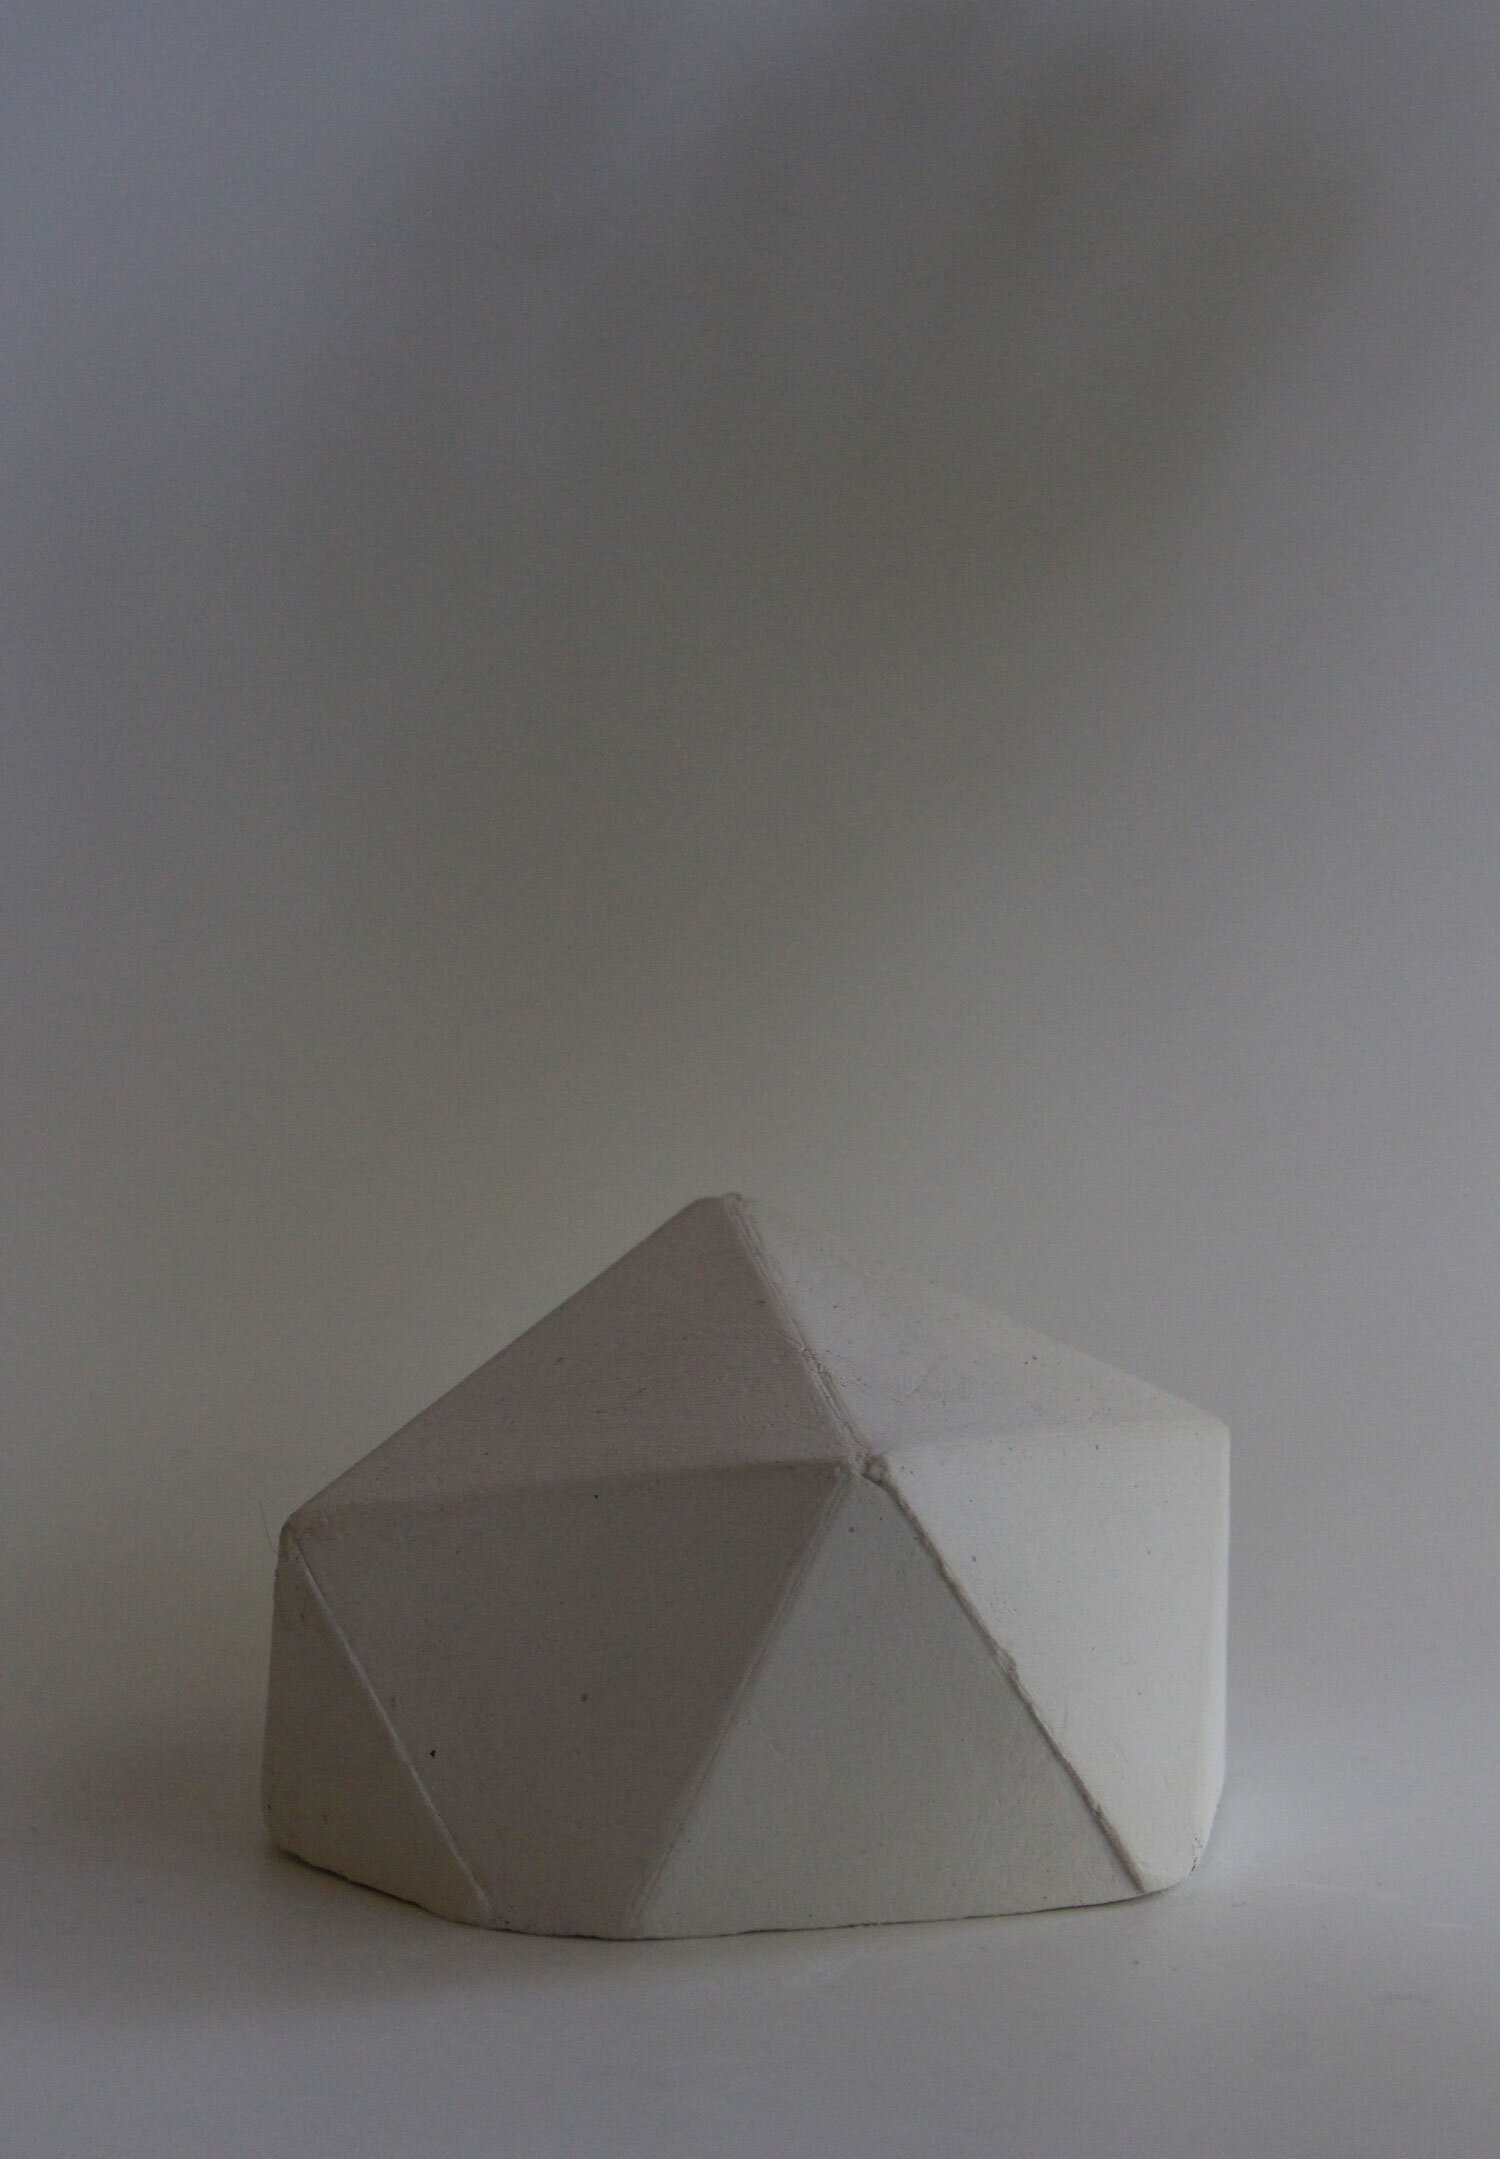
White, black and grey are commonly used as photographic backdrops to allow the photographer to adjust the lighting and the mood of the shot. White surfaces reflect light, black absorbs light, pay attention to how the surrounding surfaces and colours affect what an object looks like and how the light falls on the model.
Experiment with photographing the object on a black or white backdrop to see which looks best.

Cork Placemats with Ceramic 3D prints
Look around your home for alternatives to paper. Neutral, matte surfaces such as cardboard, timber, cork, stone, or concrete may be a complementary tone or texture to the material you have chosen to make your model with.
Background Tips
Clear an area where the focus can be on your model or object. If you are working on a table top make sure to remove objects or strong colours from the background.
Be careful of working with highly recognisable materials such as floorboards or bricks, these can easily disrupt the sense of scale when put next to an architectural model.
Avoid reflective surfaces such as glass. Reflective surfaces can introduce unwanted objects and distraction in to the frame.
If you intended on cropping the image in photoshop leave enough space around the object when you take the photograph so that it doesn’t become crowded after editing.


Composition
Composition has many formal elements to it, including line, colour, texture, light, and contrast. How these elements are arranged and interact will guide how the eye travels around the image.
There are no hard and fast rules to achieve a balanced composition. When working with architectural models or small objects subtle adjustments made to the orientation, height, and angle of the camera will give you dramatically different results. Experiment with these variables and don’t forget to physically reposition the object. Consider what is included in the frame, how much space is around an object, and how much of the frame it fills.
Orientation of the frame
Is landscape or portrait more suitable for your object or model?

Portrait

Landscape
Context and Close-ups
Consider what information needs to be included in the photograph. This could be achieved in a single shot or a series of photographs may be needed to give a more comprehensive view of the architectural model and its surrounding environment.
A wide shot (context) includes the subject and also information about the surrounding objects or location. This establishes the context of the site and will give an idea of scale and movement through the space.
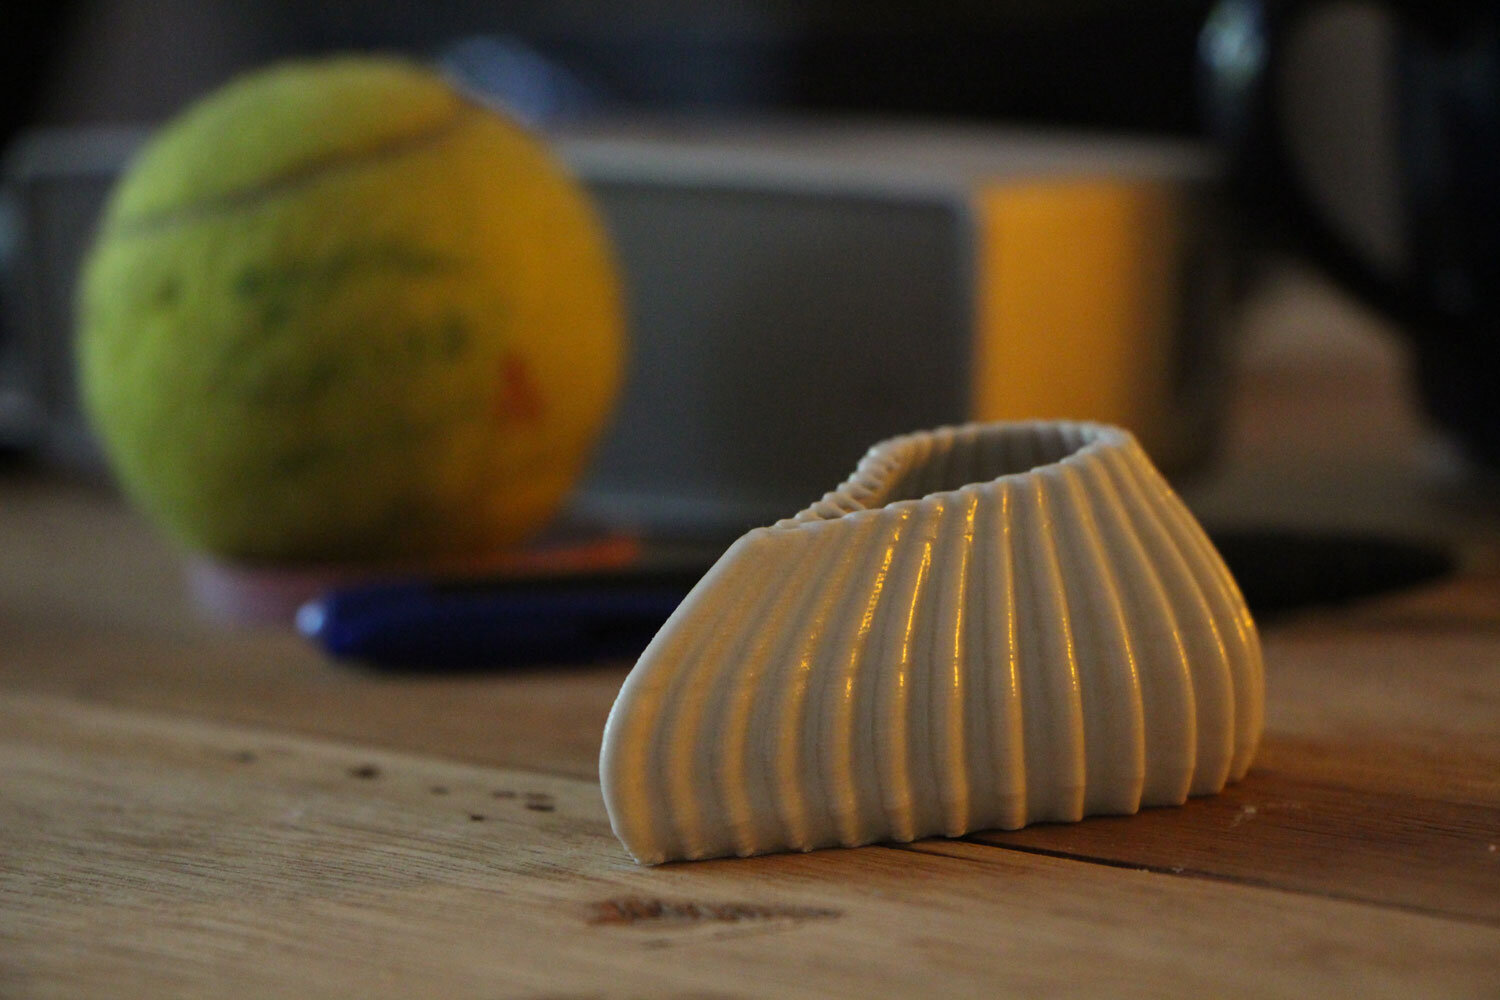
Close up shots primarily exclude information and draw attention to one feature of an object. The close up image below focuses on the texture of the 3D ceramic print. It is worth including close up images of textures or fine components as these details can be easily overlooked.

Context

Close-up
Camera Angle & Height
The angle at which your objects are photographed affects the perspective and experience of the model.
Photographing a model from a low angle can exaggerate the size of the object making it appear bigger. A birds-eye view will make the object look smaller.
A tripod is a great tool to precisely control the angle and position of the frame. Consider the angle and height of the camera in relation to the object. Adjust the tilt of the camera.


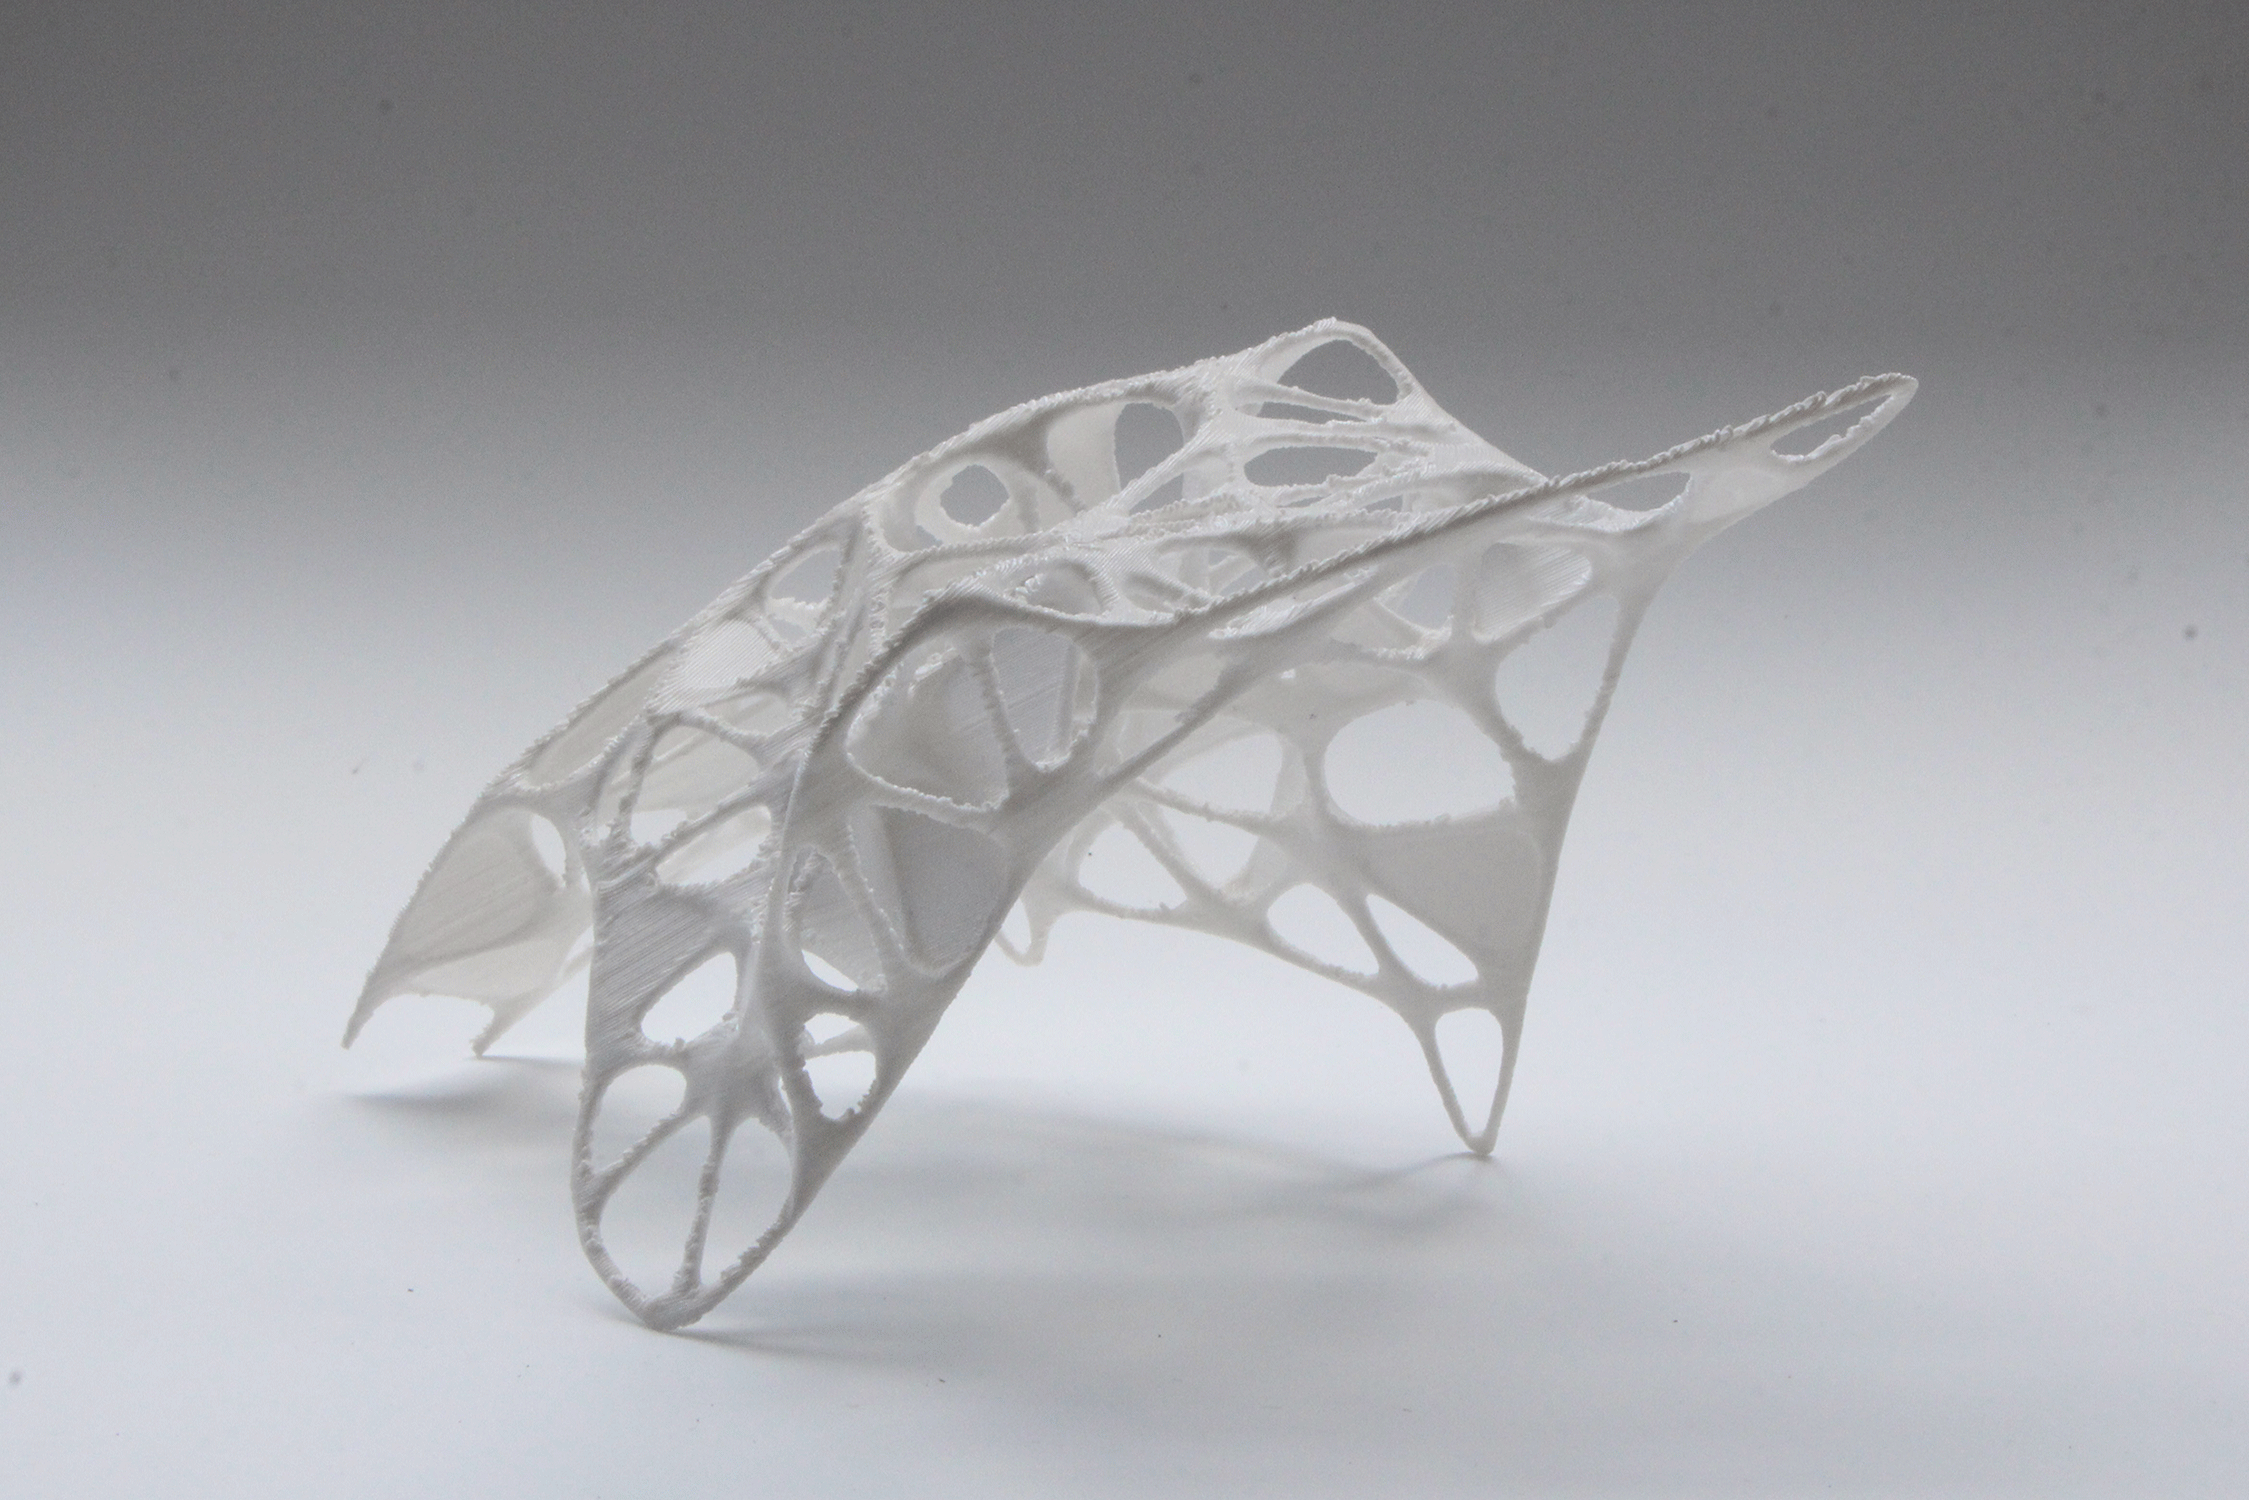
Remember you are documenting a 3D object or model. Rotate the object to capture the different points of view. (Front, side, top)
Depth of Field & Focal point
Depth of field can be used to highlight and bring into focus different points on the object or model. It can be used to create a sense of depth or distance in an image by blurring things in the fore or background. The aperture setting on the camera, known as f-stop, controls the the depth of field.
A wider, more open aperture such as an f-stop of 5, results in a shallow depth of field and a single plane in focus at any given time. Adjust the focal point to bring different parts of an object into focus. A smaller aperture, f-stop 32 will bring more of the frame into focus.


Open aperture with one plane in focus f-stop 5.0
Closed aperture with multiple planes in focus f-stop 32
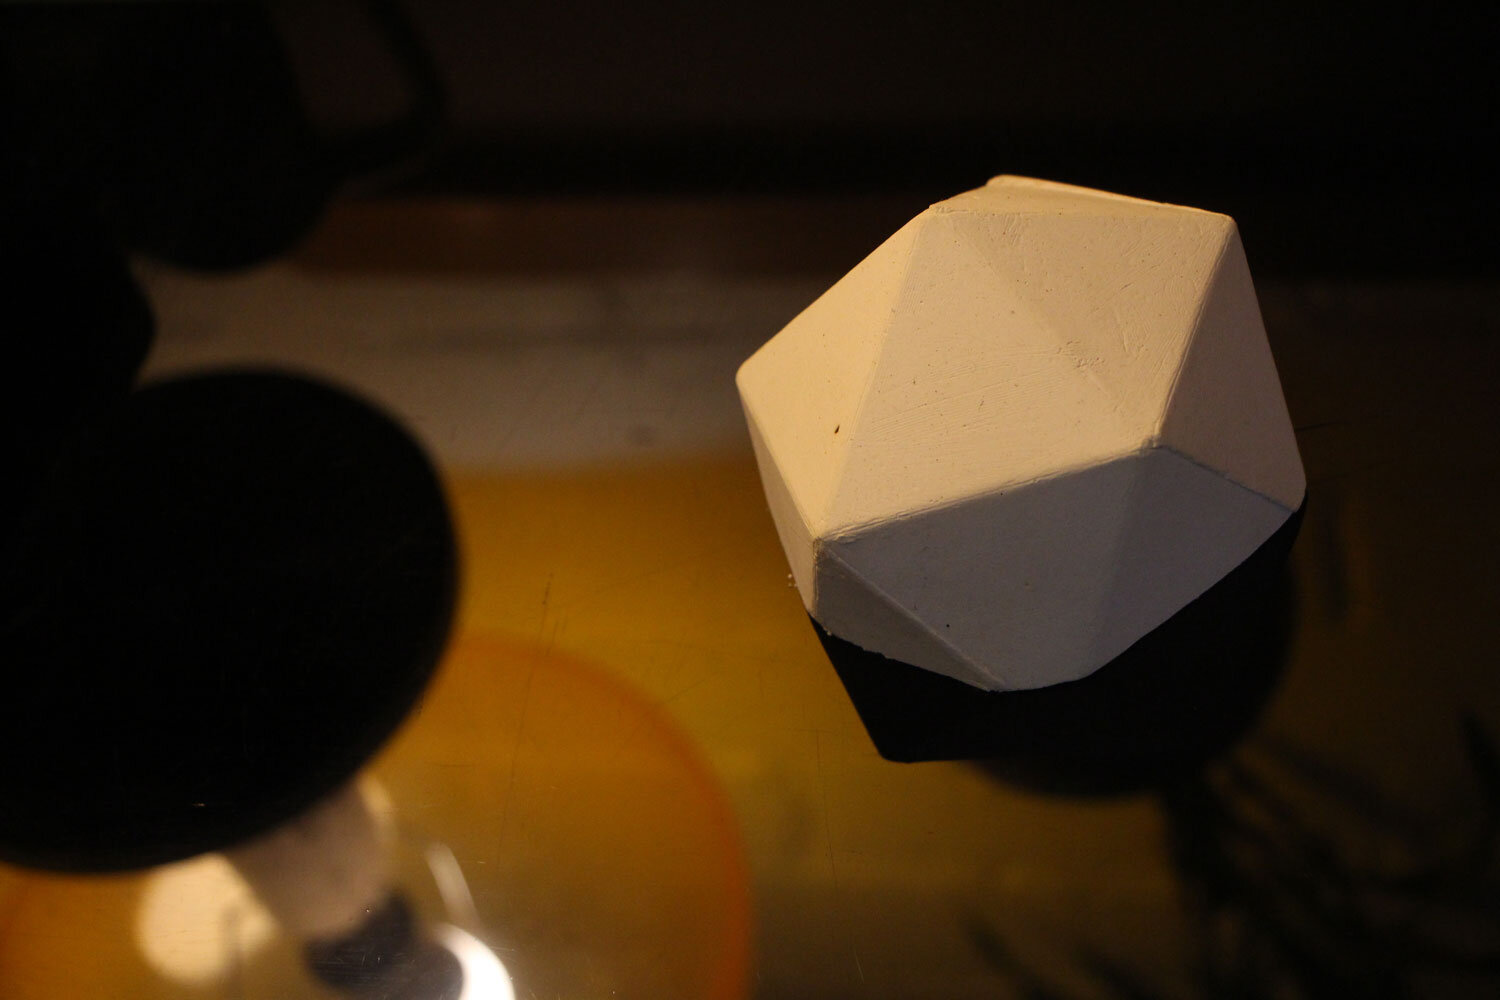
Light
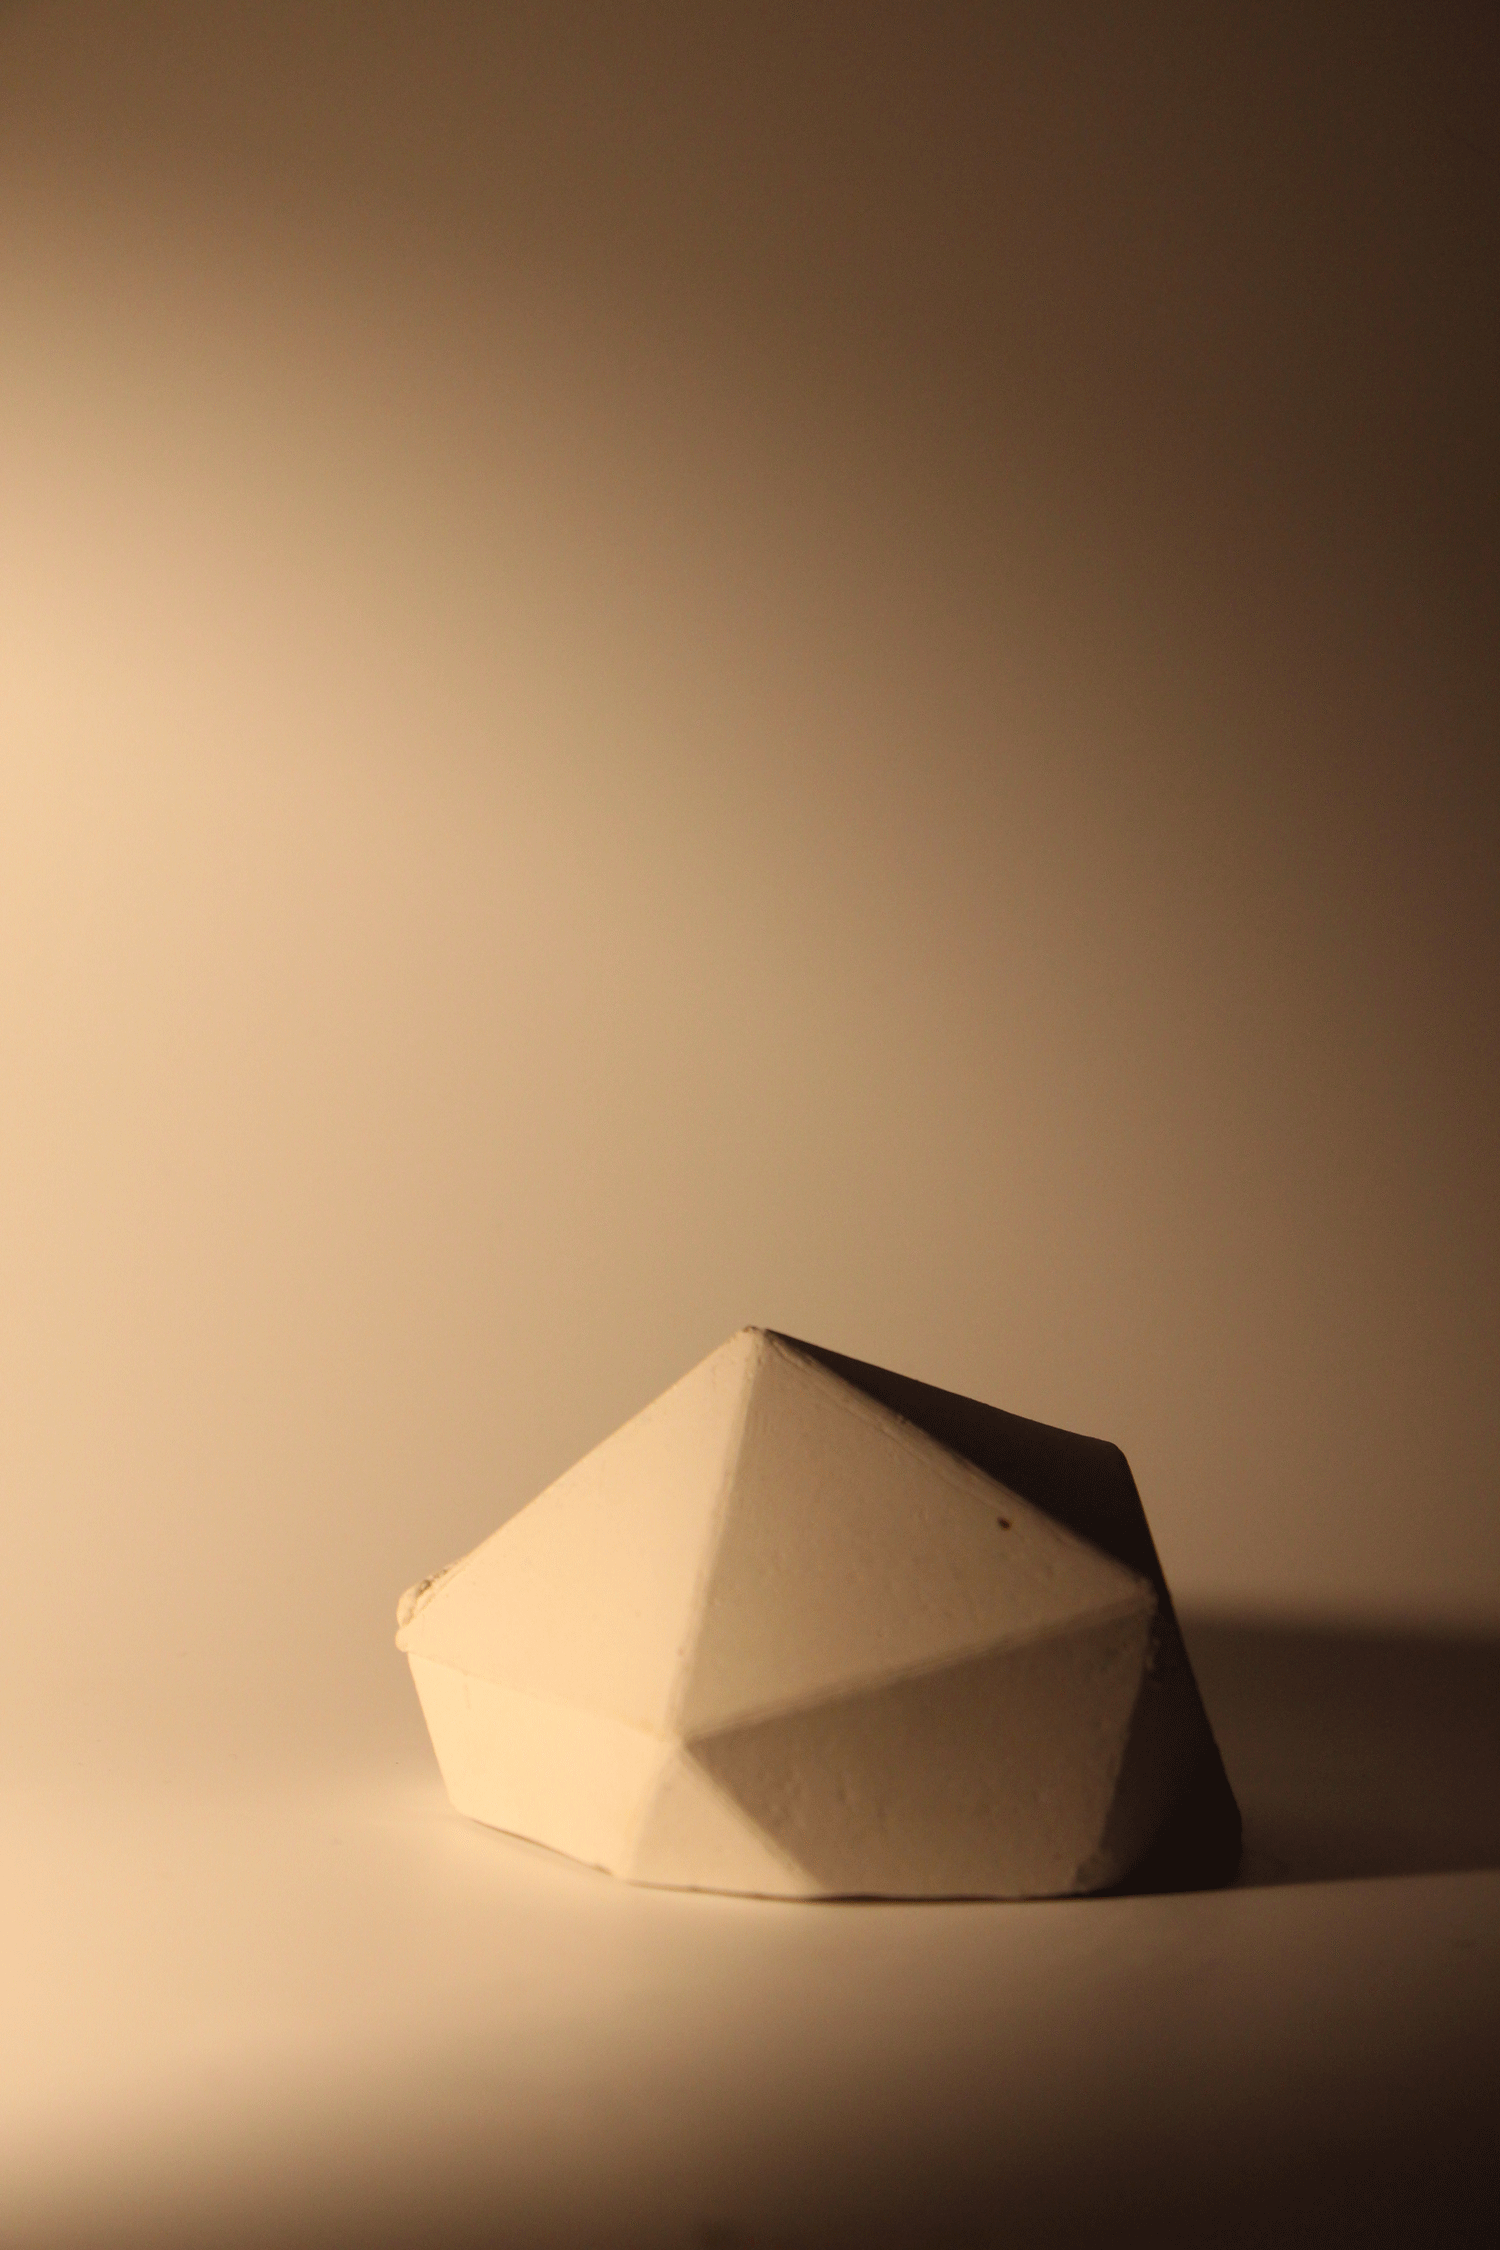
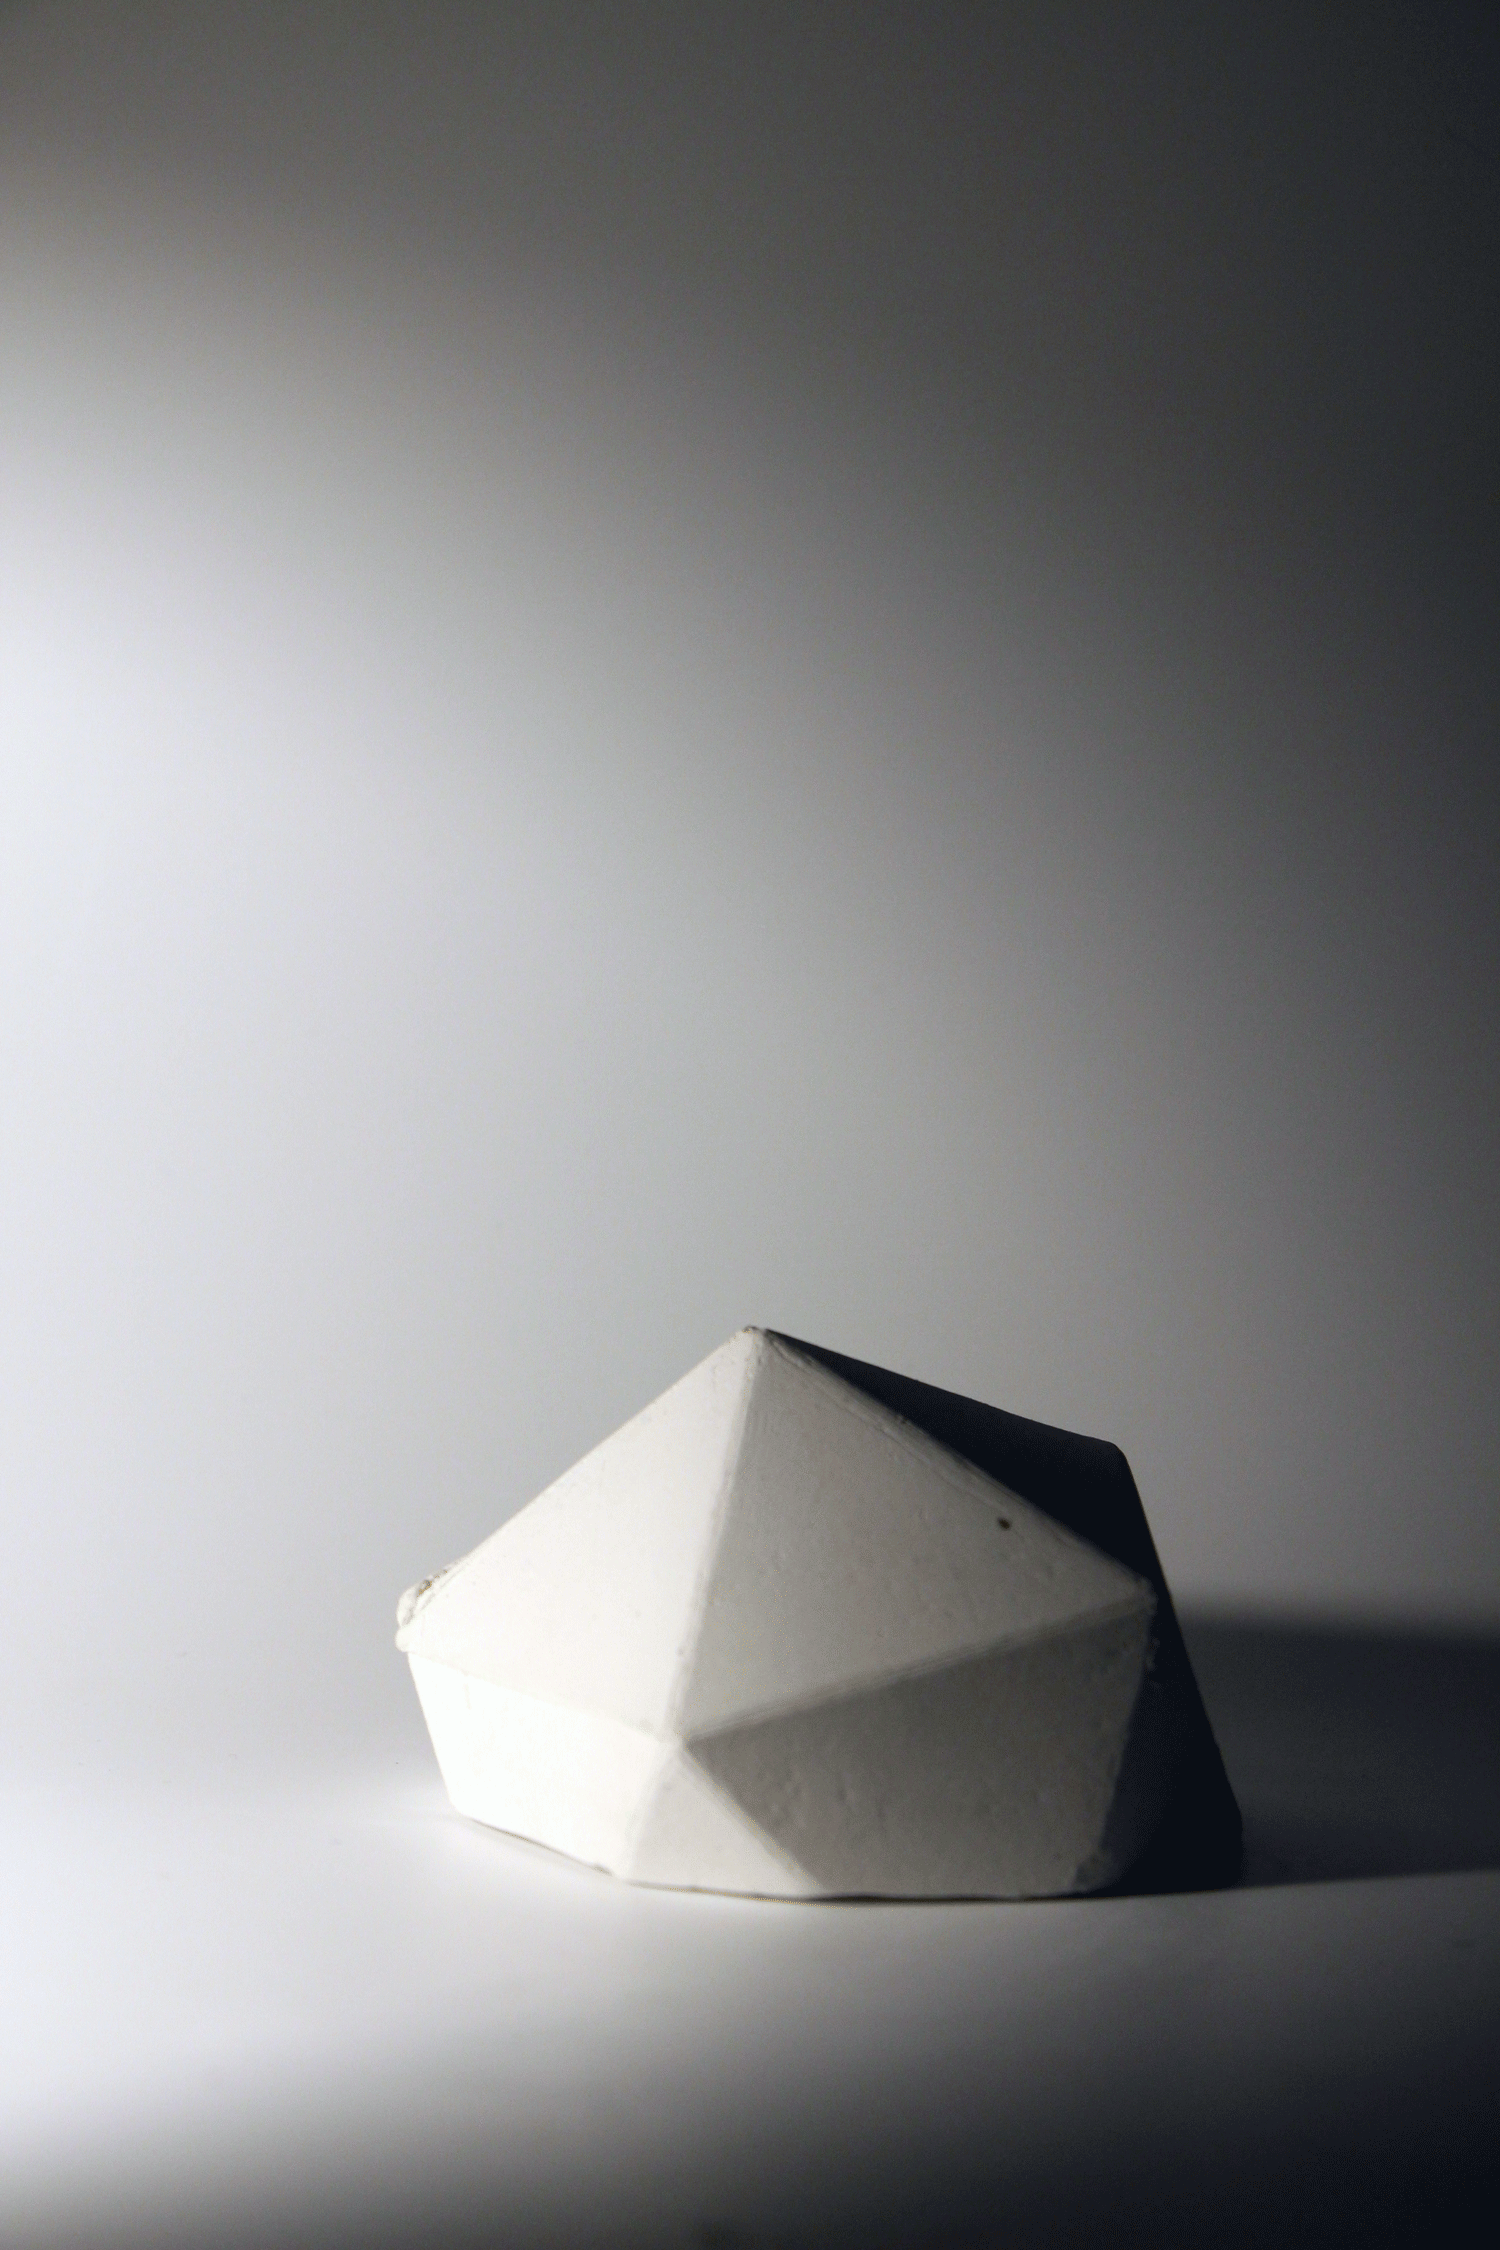
Light is essential to photography. How light is captured or controlled by the photographer is an integral part of the creative process.
The quality of light is affected by numerous factors including the distance, colour and direction of a light source in relation to the subject being photographed. Altering any of these things will transform what is in front of the camera and the resulting image.
Briefly outlined below are notes on exposure, colour, hard and soft light. If you are working with available light in your home it will change depending on the time of day and the weather. Observe the light on your model as you make changes to settings on your camera, position of the object and the light source.
Exposure

Under Exposure - reduces visibility.

Correct Exposure

Over exposure can eliminate important details and wash out areas of the model.
Exposure relates to the amount of light that falls on the light sensor or negative. The amount of light that comes into the camera is controlled by three different factors, aperture or f- stop, (the adjustable lens opening) shutter speed, (time the shutter is open) and ISO (speed of the film or sensitivity of the sensor).
Make sure to review the photograph to check that you have the correct exposure. Working in automatic mode means the camera will adjust the exposure each time you focus on an object.
Notes on Exposure.
If you are working without a tripod, don’t use a shutter speed lower than 1/60 sec. A slower speed will result in camera shake and a blurred image.
The aperture affects the depth of field and how much of the image is in focus.
Lower lighting conditions may require a higher ISO. A high ISO will give a grainier image.
Temperature & White Balance

3500K
Warm

4000K

5000K
Cool (daylight: 5500-6000K)
White light is measure on the Kelvin scale (K) Light sources range in temperature from warm to cool.
Warm light sources include candles and incandescent bulbs whereas flourescents and daylight are considered cooler light sources.
Make sure to set the white balance on the camera or phone when you change the lighting conditions so that the sensor will adjust how it interprets the warmer or cooler tones.
Hard and Soft Light

Hard Light - defined shadows
Soft Light - subtle shadows
Hard light comes from an intense often singular, or focused light source. It will cast well defined shadows and create areas of high contrast.
Photographing outdoors on a bright cloudless day will produce a hard light in your images.
Soft light is diffused light, coming from multiple directions. The shadows cast are subtle and graduated. Sunlight is diffused through clouds which makes overcast days ideal if you are seeking a natural soft light source.
Reflectors and diffusers can be used indoors to create soft light. For information on how to work with available light and make and use a reflector check out our working with available light resource.
Lighting Tips
Flash will flatten the image and can remove detail.
Be aware of shadows cast on the object or backdrop. Your body or another object will block the light.
Single light source - (desk lamp), note the uneven lighting and hotspots created.
Lamp - note the temperature of the light. The White Balance has been adjusted in the image to the right. This colour discrepancey can also be changed in photoshop but it is better to adjust the camera settings and fine tune in an editing programme if needed.

We can’t wait to see what you produce. If you want more photography tips check out this earlier post on how to work with available light at home.
You can also find photography inspiration in our extensive Model Gallery, it showcases previous work from Architecture, Design and Planning students.
If you have any other questions, send us an email at adp.dmaf@sydney.edu.au or book in for a chat via our online consultations.